You have already created tables and linked them with table services, and your customer now wants to reserve a table at your location? In this How-To you will learn how to reserve an already created table, check in your guests, then collect the order and check out the reservation.
Learn how to confirm, check in and check out table reservations via your online presence here.
If you want to add a reservation, proceed as follows:
In the POS menu, open Reservations > Inbox.
To add a reservation, tap [] in the left column. ⮕ The Select window opens.
Select the desired service.
If you have multiple POS locations, the Location Selection window will open. If you have only one POS location, the Details window will open. In this case, skip step 4.
In the Location Selection window, choose at which POS location you want to add a table reservation. ⮕ The Details window opens.
In the Add Customer Name... field, enter the name of the customer.
If you have already created the customer in enforePOS, the name of the customer will appear in the Search Results when you type it in. In this case, select the customer.
If you haven't created the customer yet, tap Create New Customer to add the name and contact information of the customer. ⮕ The Create Private Customer window opens.
Enter the customer's mobile phone, home phone, email or home address here.
Tap [Create Customer] to confirm your entry. ⮕ You have successfully created the private customer.
Enter the following information in the Details window:
Start: Specify here when the reservation will start.
End: Indicate here when the reservation will end.
Duration: Specify here how long the table will be reserved.
Seats: Specify here how many seats should be reserved.
via: Indicate here how you received the reservation (e.g. via phone or email).
Optionally you can enter special requests. Tap on Special to do this.
Tap on [Next] to confirm your entries.
Optionally, you can add another participant in the following window. To do this, tap on Add Participants.... If you have already created the participant, repeat step 6. If you have not yet created the participant, repeat steps 7 to 9.
Confirm your entries with [Save].⮕ The Reservation Details window opens.
Select an available table to assign your reservation to that table.
If there is no table available, you can put the customer on the Waiting List. If you want to assign the reservation later, select the [Requested] option.
Optionally, you can add more participants in the Participants tab, enter a note in the Notes tab (e.g. if the person wants to eat lactose-free or gluten-free) and take a preorder in the Preorder tab. If you add a note in the Notes tab, this tab will be opened first when you reopen the reservation, so that the notes for the reservation will be directly visible.
⮕ The table is marked as Booked and highlighted in green.
Tap on [Confirm]. ⮕ You have successfully assigned the reservation to the table.
If you have entered the customer's mobile phone number, enforePOS will send a confirmation SMS. Your customer can access the detailed reservation confirmation via the link in the SMS. In addition, the appointment can be saved in the calendar of the smartphone.
You can find the reservation in the POS menu Reservations > Inbox in the Confirmed tab in the Reservations column.
After you have created the reservation, you can access the customer profile from the reservation inbox and make customer-specific comments in the Notes tab.
Edit Table Reservations
If a table is already occupied for part of the reserved time, the table will be highlighted in orange.
If a table is already occupied at the start time of the reservation, the table will be highlighted in red.
Example: One person reserves the table service "Lunch". The duration set for the table service "Lunch" is 60 minutes. The person reserves the table at 1 pm. Table 1 is reserved from 12:45 pm. Table 3 is reserved from 1:15 pm. The table reserved from 12:45 pm is displayed in red, because it is still occupied at the start time of the new reservation. The table reserved from 1:15 pm is displayed in orange, because it is still free at the start time of the new reservation (1 pm), but not during the entire 60 minutes set as the duration for the reservation.
To be able to accept additional reservations on tables that are already occupied, you must activate the Allow overbooking setting in the reservation settings.
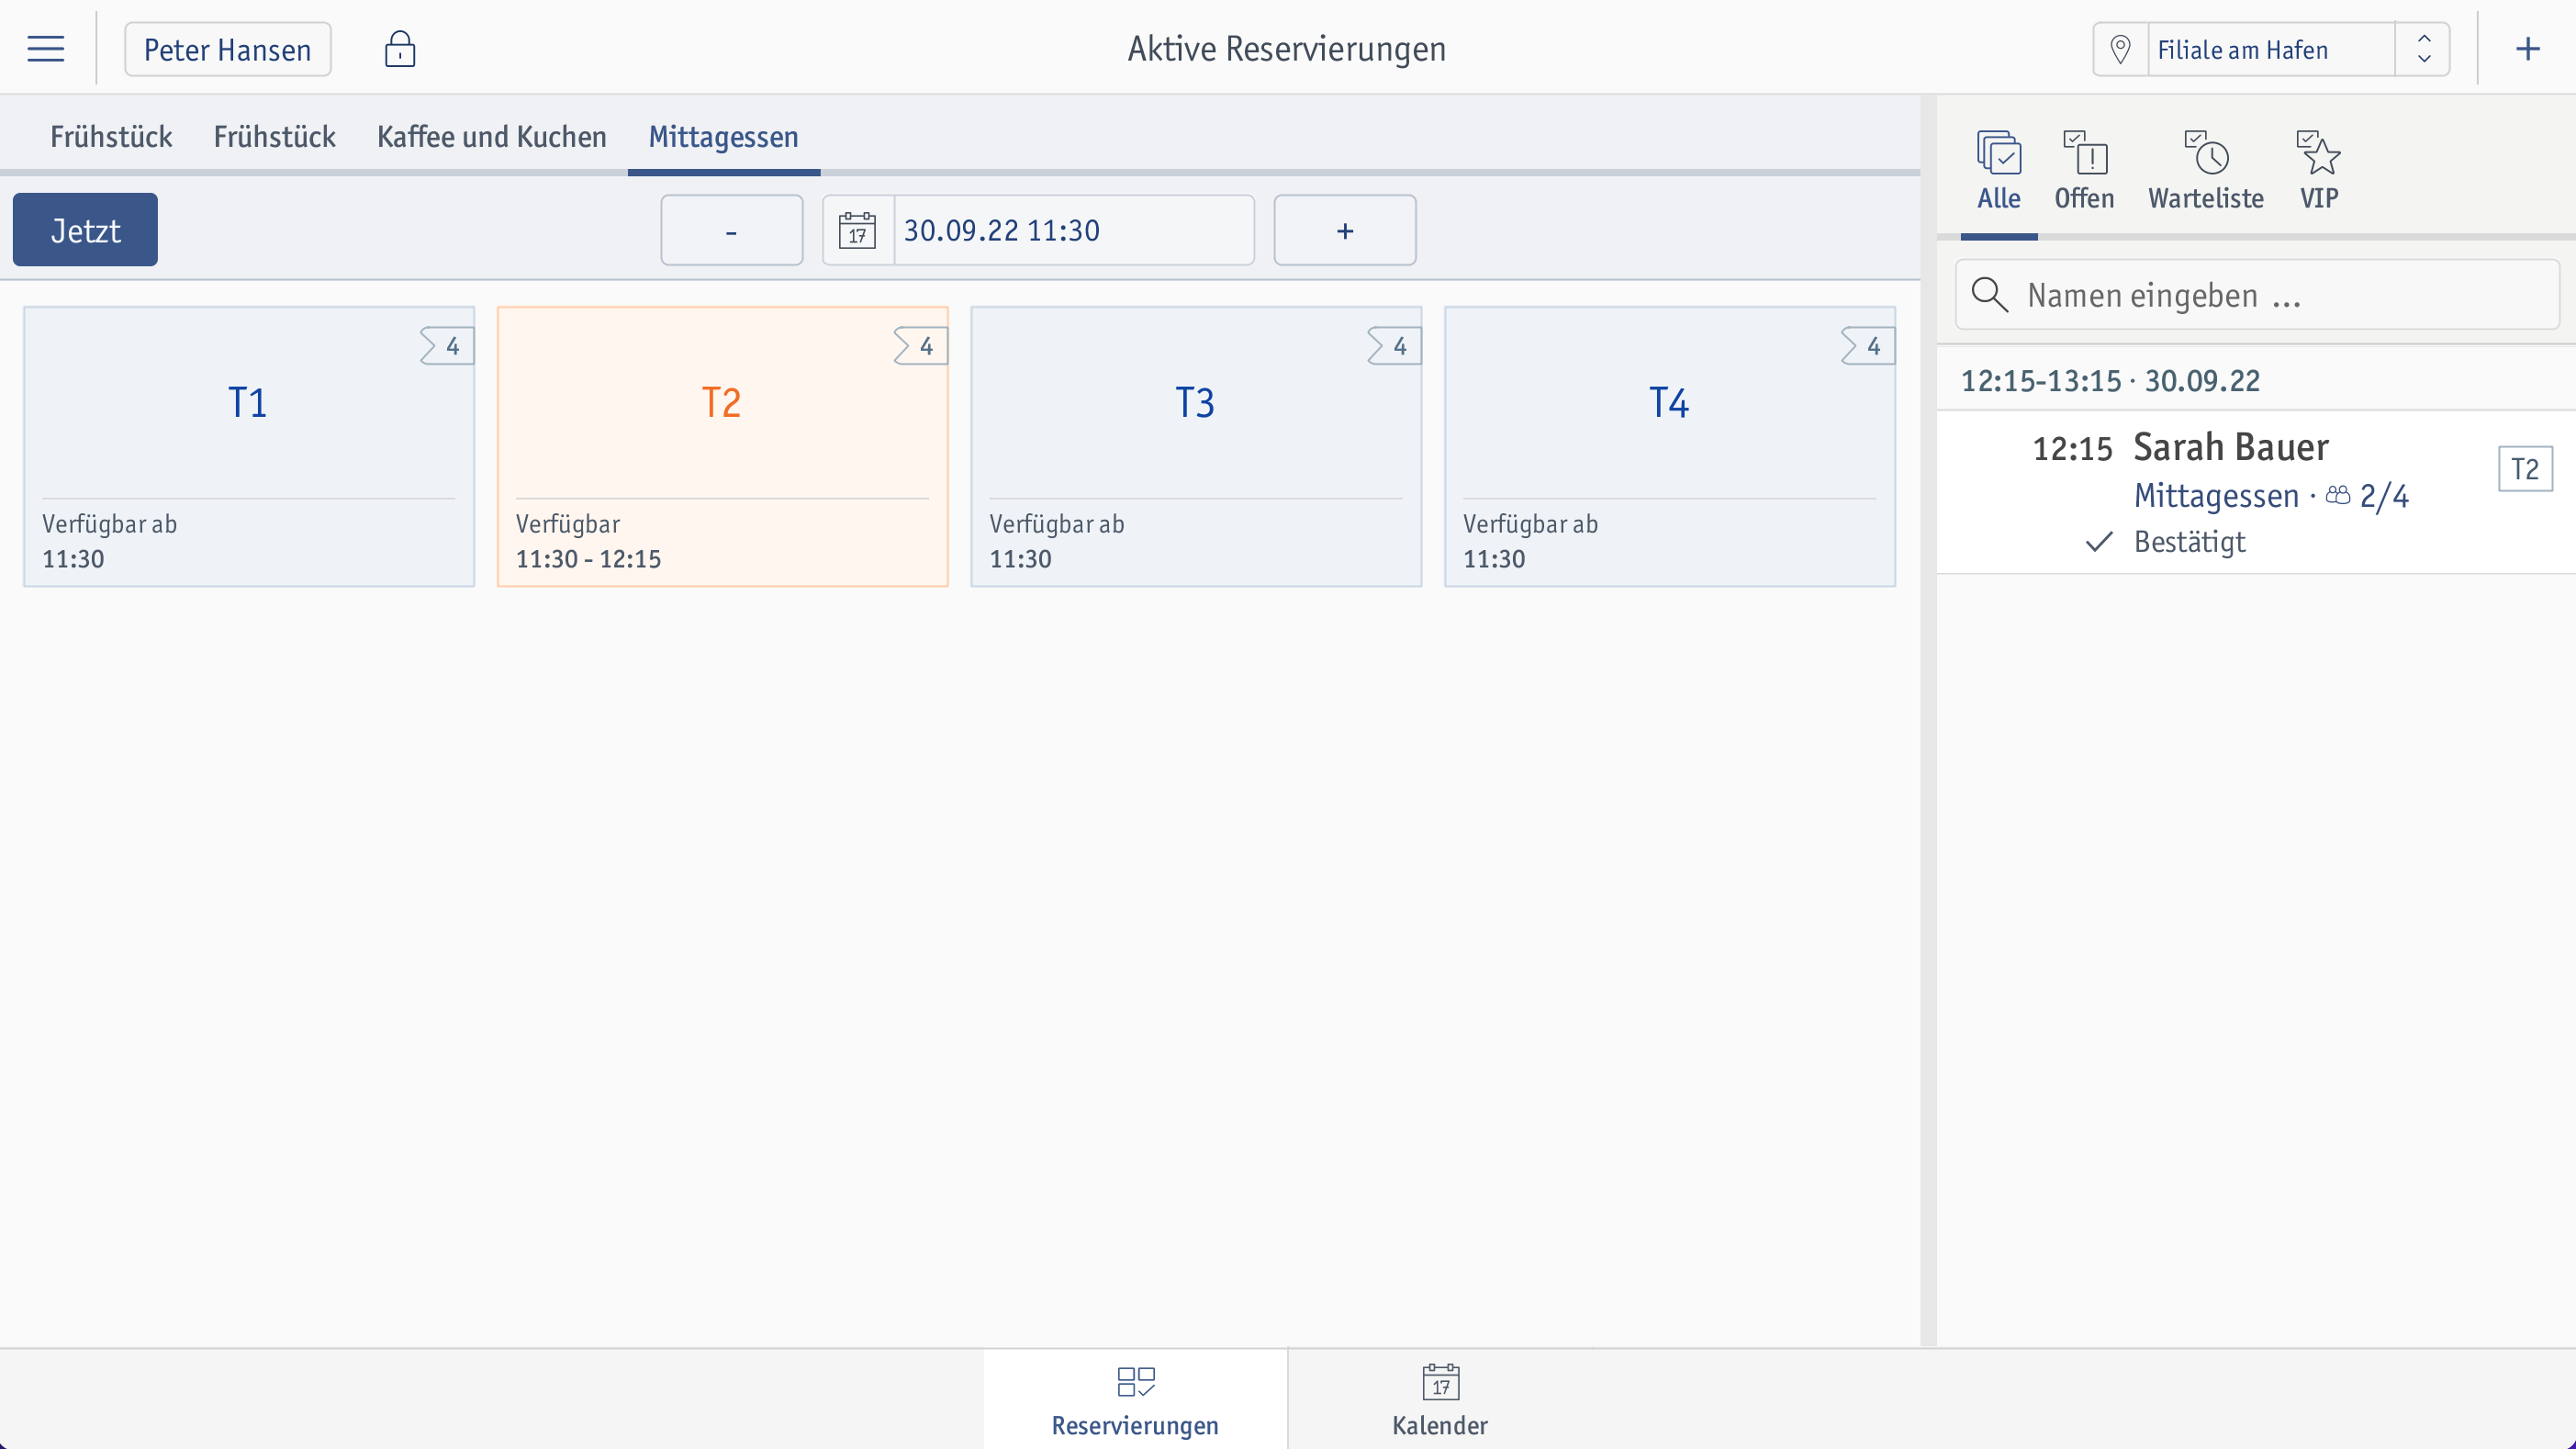
You can also see the seat occupancy for an existing reservation in the POS menu under Reservations > Active Reservations:
At the time of the reservation, 2 people are seated at Table 2.
Check In and Check Out Table Reservation
When guests show up on the day of the reservation, your first step is to check in the reservation. To do this, open either Reservations > Active Reservations or Reservations > Inbox > Confirmed tab in the POS menu.
In the POS menu, open Reservations > Active Reservations.
Select the reservation in the column on the right.
You can see the seat occupancy of a reservation in the red box on the top right or in the reservation overview on the right. 1/4 means that the table has 4 seats and 1 seat is occupied at the reserved time.
Tap [Check in].
If the guests have arrived but the table is not yet free, select the [Arrived] option.
⮕ After successful check-in, the reservation is listed in the Available Reservations view. You can get there by tapping in the POS menu under Sales > Register. ⮕ The Available Reservations window opens.
To take the orders of your guests, double tap the reservation. ⮕ The order is opened in the cash register.
Add the orders of the guests.
Tap to check out the order. ⮕ When you check out the order, the reservation is automatically checked out if you have activated the End Reservation on checkout function in the POS menu under Sales > Sales Settings in the General tab in the Workflow area. If you want to access the completed reservation, you can find it under Reservations > Reservation History in the Completed tab.
 ] in the left column.